728x90
수업내용
1교시 (09:30-10:20)
- 지난 금요일에 주신 자료 그대로 타이핑하기
2교시 (10:30-11:20)
- 지난 금요일에 주신 자료 그대로 타이핑하기
3교시 (11:30-12:20)
- 지난 금요일에 주신 자료 그대로 타이핑하기
4교시 (12:30-13:20)
- 지난 금요일에 주신 자료 그대로 타이핑하기
5교시 (14:30-15:20)
- CSS : Cascading Style Sheet 캐스케이딩 스타일 시트
------------------------------------------------
우선 순위가 있어서 위에서 아래도 적용이 된다.
스타일 순위
------------
얼마나 중요한가
사용자 스타일
제작자 스타일
브라우저 스타일
적용 범위
!important
인라인 스타일
id 스타일
class 스타일
타입 스타일
소스 작성 순서
나중에 작성한 스타일이 먼저 작성한 스타일을 덮어 쓴다. - css_00.html
<!DOCTYPE html>
<html>
<head>
<meta charset="UTF-8">
<title>HTML CSS</title>
<style type="text/css">
body {
background-color: yellow;
}
h1 {
color: red;
}
p {
color: cyan;
}
</style>
</head>
<body>
<!-- Inline Style Sheet 인라인이 우선 순위가 가장 높음-->
<h1 style="color:blue;">This is a Blue Heading</h1>
<!-- Internal CSS 적용 -->
<h1>This is a heading</h1>
<p>This is a paragraph.</p>
<p> 나는 문단 채크
<h1>나는 문서 제목</h1>
<h1>인라인 스타일(Inline Style) : </h1>
<hr>
한줄짜리 짤막한 스타일 태그 안에 직접 지정하여 사용. HTML과 섞어서 사용<br>
<p style='background-color:#00f; color:ff0'>즐거운 하루!</p><br>
<h1>내부 스타일 시트(Internal Style Sheet) : </h1>
<hr>
HTML 파일 안에 별도 영역으로 스타일 정의<br>
일반적으로 <head>,,, </head> 안에 style을 사용<br>
<style> 태그를 사용하여 지정<br>
HTML 페이지 안에 위치하므로 영향을 주는 범위는 페이지 안의 전체 태그<br>
다른 HTML 페이지에서 똑같은 내용으로 사용하고 싶다면 복사해서 사용<br>
<head><br>
<style type='text/css'><br>
h1{font-family: '굴림체'<br>
font-size:30px; }<br>
</style>
</head>
<h1>외부 스타일 시트(External Style Sheet) : </h1>
<hr>
스타일 내용을 별도의 페이지로 만들어서 사용<br>
여러번 복사해야 하는 내부 스타일 시트의 단점 보완<br>
확장자는 .css<br>
하나의 스타일로 여러 개의 HTML 페이지에 적용하여 사용하고자 할 때 편리<br>
하나의 스타일 페이지만 바꾸면 연결된 전체 HTML 페이지가 바뀌므로 유지,
보수에 편리<br>
각각의 HTML 페이지 문서는 <head>...</head>
안에 <link> 태그를 사용하여 스타일 페이지와 연결<br>
<head><br>
<link rel='stylesheet' type='text.css'
href='외부스타일시트명.css'><br>>
</head><br>
</body>
</html>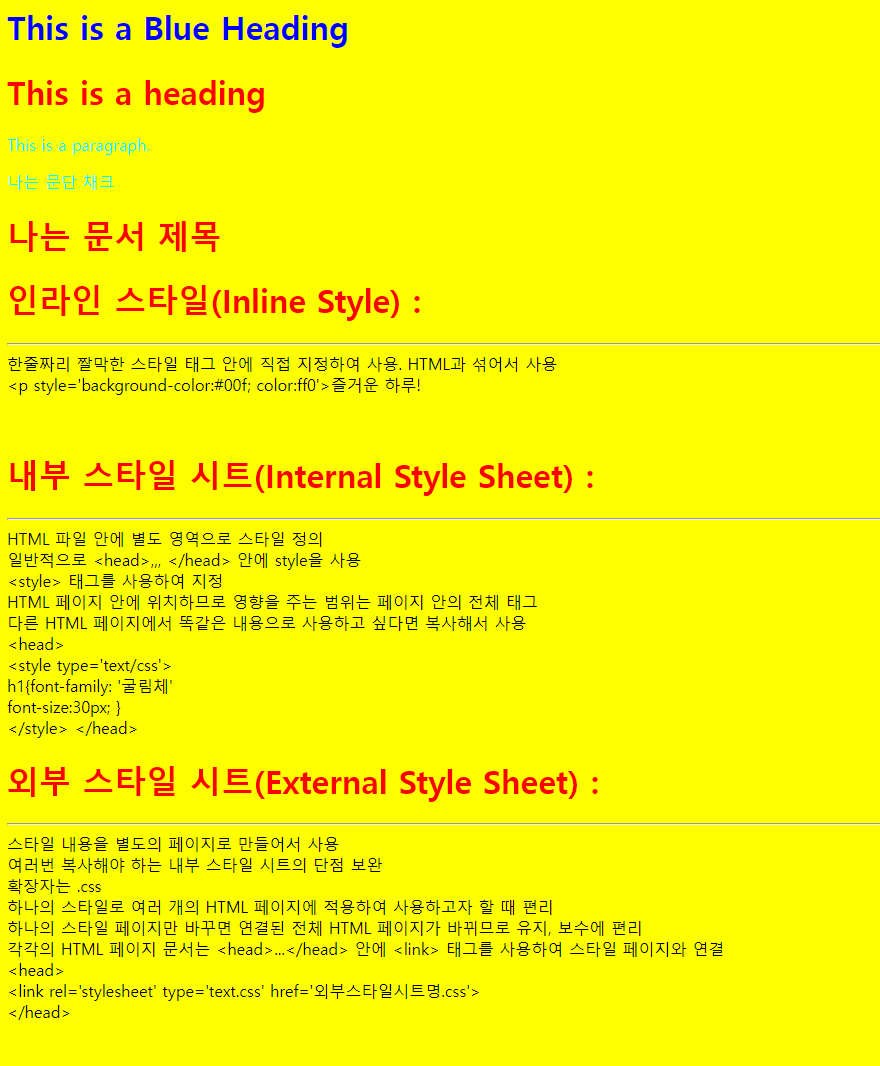
6교시 (15:30-16:20)
- css_00.css
@charset "UTF-8";

* {
	margin: 0;
	padding: 0;
}

body {
	 /*
	 	바디는 상속이 안 된다
	 	배경 색과 배경 이미지는 상속이 안 된다.
	 */
	background-color: yellow;
}- css_00.html ← css_00.css 파일 스타일 제어
<!DOCTYPE html>
<html>
<head>
<meta charset="UTF-8">
<title>HTML CSS</title>
<link rel="stylesheet" type="text/css" href="/KosMember/css/css_00.css">
<style type="text/css">
h1 {
color: red;
}
p {
color: cyan;
}
</style>
</head>
<body>
<!-- Inline Style Sheet 인라인이 우선 순위가 가장 높음-->
<h1 style="color:blue;">This is a Blue Heading</h1>
<!-- Internal CSS 적용 -->
<h1>This is a heading</h1>
<p>This is a paragraph.</p>
<p> 나는 문단 채크
<h1>나는 문서 제목</h1>
<h1>인라인 스타일(Inline Style) : </h1>
<hr>
한줄짜리 짤막한 스타일 태그 안에 직접 지정하여 사용. HTML과 섞어서 사용<br>
<p style='background-color:#00f; color:ff0'>즐거운 하루!</p><br>
<h1>내부 스타일 시트(Internal Style Sheet) : </h1>
<hr>
HTML 파일 안에 별도 영역으로 스타일 정의<br>
일반적으로 <head>,,, </head> 안에 style을 사용<br>
<style> 태그를 사용하여 지정<br>
HTML 페이지 안에 위치하므로 영향을 주는 범위는 페이지 안의 전체 태그<br>
다른 HTML 페이지에서 똑같은 내용으로 사용하고 싶다면 복사해서 사용<br>
<head><br>
<style type='text/css'><br>
h1{font-family: '굴림체'<br>
font-size:30px; }<br>
</style>
</head>
<h1>외부 스타일 시트(External Style Sheet) : </h1>
<hr>
스타일 내용을 별도의 페이지로 만들어서 사용<br>
여러번 복사해야 하는 내부 스타일 시트의 단점 보완<br>
확장자는 .css<br>
하나의 스타일로 여러 개의 HTML 페이지에 적용하여 사용하고자 할 때 편리<br>
하나의 스타일 페이지만 바꾸면 연결된 전체 HTML 페이지가 바뀌므로 유지,
보수에 편리<br>
각각의 HTML 페이지 문서는 <head>...</head>
안에 <link> 태그를 사용하여 스타일 페이지와 연결<br>
<head><br>
<link rel='stylesheet' type='text.css'
href='외부스타일시트명.css'><br>
</head><br>
</body>
</html>
- css_00.html
<!DOCTYPE html>
<html>
<head>
<meta charset="UTF-8">
<title>HTML CSS</title>
<link rel="stylesheet" type="text/css" href="/KosMember/css/css_00.css">
<style type="text/css">
h1 {
color: red;
border:4px solid red;
}
p {
color: cyan;
border:2px solid blue;
}
</style>
</head>
<body>
<!-- Inline Style Sheet 인라인이 우선 순위가 가장 높음-->
<h1 style="color:blue;">This is a Blue Heading</h1>
<!-- Internal CSS 적용 -->
<h1>This is a heading</h1>
<p>This is a paragraph.</p>
<p> 나는 문단 채크
<h1>나는 문서 제목</h1>
<h1>인라인 스타일(Inline Style) : </h1>
<hr>
한줄짜리 짤막한 스타일 태그 안에 직접 지정하여 사용. HTML과 섞어서 사용<br>
<p style='background-color:#00f; color:ff0'>즐거운 하루!</p><br>
<h1>내부 스타일 시트(Internal Style Sheet) : </h1>
<hr>
HTML 파일 안에 별도 영역으로 스타일 정의<br>
일반적으로 <head>,,, </head> 안에 style을 사용<br>
<style> 태그를 사용하여 지정<br>
HTML 페이지 안에 위치하므로 영향을 주는 범위는 페이지 안의 전체 태그<br>
다른 HTML 페이지에서 똑같은 내용으로 사용하고 싶다면 복사해서 사용<br>
<head><br>
<style type='text/css'><br>
h1{font-family: '굴림체'<br>
font-size:30px; }<br>
</style>
</head>
<h1>외부 스타일 시트(External Style Sheet) : </h1>
<hr>
스타일 내용을 별도의 페이지로 만들어서 사용<br>
여러번 복사해야 하는 내부 스타일 시트의 단점 보완<br>
확장자는 .css<br>
하나의 스타일로 여러 개의 HTML 페이지에 적용하여 사용하고자 할 때 편리<br>
하나의 스타일 페이지만 바꾸면 연결된 전체 HTML 페이지가 바뀌므로 유지,
보수에 편리<br>
각각의 HTML 페이지 문서는 <head>...</head>
안에 <link> 태그를 사용하여 스타일 페이지와 연결<br>
<head><br>
<link rel='stylesheet' type='text.css'
href='외부스타일시트명.css'><br>
</head><br>
<h1>Selector(선택자)</h1>
<hr>
id attribute 선택자 : 엘리먼트 하나에만 적용<br>
class attribute 선택자 : 엘리먼트 여러개 적용<br>
<h1>CSS Attributes</h1>
style attribute : 엘리먼트에서 인라인 스타일 적용<br>
<style> : internal CSS 적용<br>
<link> : external CSS file 불러오기<br>
<head> : <style>, <link> elements 사용<br>
color property : 텍스트 컬러 적용<br>
font-family property : text fonts 적용<br>
font-size property : text sizes 적용<br>
border property : borders에 적용<br>
padding property : 보더와 텍스트 사이 padding(스페이스) 적용<br>
margin property : 보더와 바깥쪽 margin(스페이스) 적용<br>
<h1>HTML 문자 엔티티</h1>
< : 오른쪽이 열린 꺽쇠 : 태그를 여는 꺽쇠<br>
> : 왼쪽이 열린 꺽쇠 : 태그를 닫는 꺽쇠<br>
<head><title>타이틀
</title></head><br>
: 공백문자 한칸 의미, space 한칸<br>
& : 앰퍼센드(Ampersand) 문자<br>
" : 쌍따옴표 하나<br>
난 "쌍따옴표" 입니다.<br>
© : 카피라이트 기호
<h1>TRML Formatting</h1><br>
<b>This text is bold</b><br>
<strong>This text is strong</strong><br>
<i>This text is italic</i><br>
<em>This text is emphasized : 기울여서 구문 강조</em><br>
<h2>HTML <small>Small</small> Formatting</h2><br>
<h2>HTML <mark>Marked</mark> Formatting</h2><br>
<p>My favorite color is <del>blue</del> red.</p><br>
<p>My favorite <ins>color</ins> is read.</p><br>
<p>This is <sub>subscripted : 아래첨자 </sub> text.</p><br>
<p>This is <sup>superscripted : 윗첨자</sup> text.</p><br>
</body>
</html>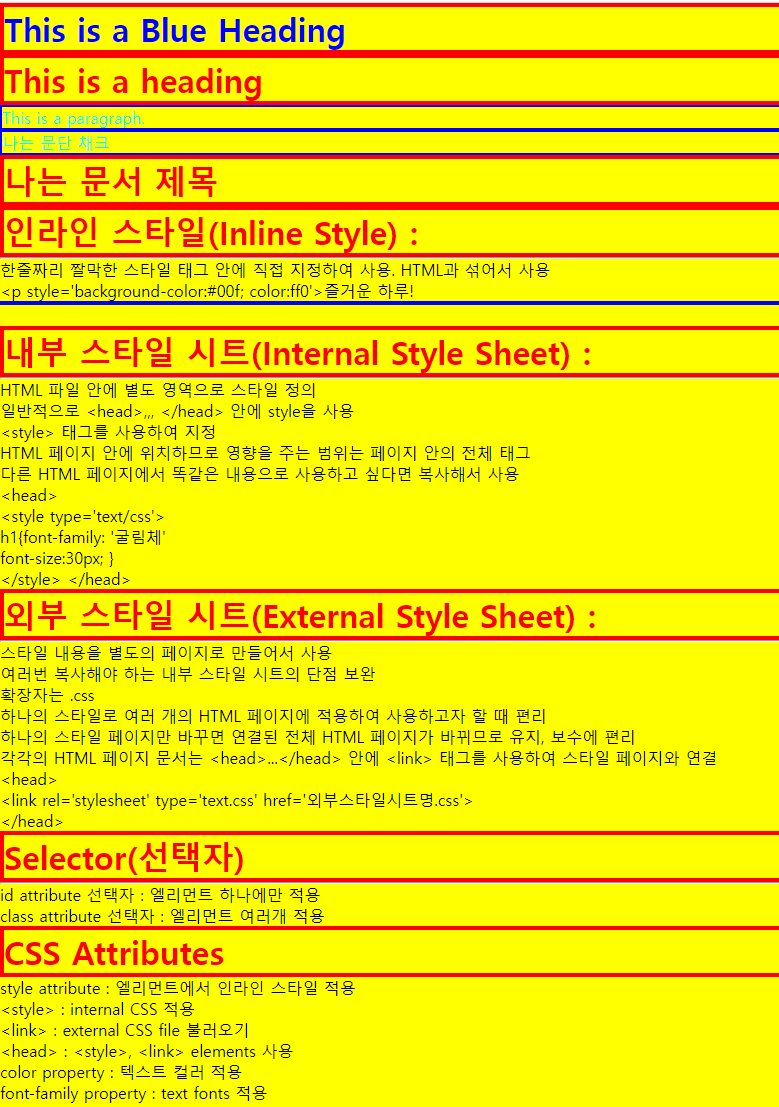
- MIME : 파일의 텍스트 형식 알려주는 메타데이터
- type=”text/class”
7교시 (16:30-17:20)
- css_01_styleAttr.html
<!DOCTYPE html>
<html>
<head>
<meta charset="UTF-8">
<title>HTML Style Attributes</title>
<script type="text/javascript">
function alinkfunction(){
alert("alinkfunction >>> : ");
}
function alinkfunction_1(){
alert("alinkfunction_1 >>> : ");
}
</script>
</head>
<body style="background-color:powderblue;">
<h2> HTML Style Attributes </h2>
style : HTML 엘리먼트의 스타일을 위한 어트리뷰트<br>
background-color : element 바탕색 컬러 <br>
color : 텍스트 컬러<br>
font-family : 텍스트 폰트<br>
font-size : 텍스트 사이즈 <br>
text-align : 텍스트 수평 정렬하기 <br>
<!-- html 주석 -->
<!-- hr 태그는 수평선 -->
<hr>
<h1 style="color:blue;text-align:center;">글자색을 블루</h1>
<p style="color:red;">글자색을 빨강으로 해볼까</p>
<h1 style="font-family:verdana;">글자 폰트 바꿔보기</h1>
<p style="font-family:courier;">글자 폰트를 쿠리어로</p>
<h1 style="font-size:300%;">글자크기를 조정 하기</h1>
<p style="font-size:160%;">글자크기를 조정 하기</p>
<h1 style="text-align:left;">텍스트 정렬을 왼쪽으로</h1> <!-- 숫자 -->
<h1 style="text-align:center;">텍스트 정렬을 가운데로</h1> <!-- 문자 -->
<p style="text-align:right;">텍스트 정렬을 오른쪽으로</p> <!-- 날짜 -->
<hr>
<!-- h1 ~ h6 tag(element) -->
<h1> h1~ h6 element(tag)</h1>
<h1> First Heading </h1>
<h2> First Heading </h2>
<h3 style="font-size:300%;"> First Heading </h3>
<h4> First Heading </h4>
<h5> First Heading </h5>
<h6> First Heading </h6>
<h1> HTML Attributes </h1>
<hr>
alt : 이미지가 display 되지 않을 때 <br>
disable : input element를 disable 시킬 때<br>
href : web address URL 링크 <br>
id : element의 유니크한 id<br>
src : 이미지 URL(web address)<br>
style : element 시작 태그에서 사용하는 inline CSS style<br>
title : tool tip으로 보여주는 element 부가정보<br>
<!-- href attribute -->
<a href="https://www.naver.com">
<img src="/KosMember/img/img_css/htmlPageStructure.PNG" width="30" height="30" alt="이미지가 display 안 될 때ㅋㅋ">
이 링크를 누르세요
</a>
<br>
<a href="javascript:alinkfunction();">
<img src="/KosMember/img/img_css/htmlPageStructure.PNG" width="30" height="30" alt="이미지가 display 안 될 때">
이 링크를 누르세요
</a>
<br>
<a href="javascript:void(0);" onclick="alinkfunction_1(this);">
<img src="/KosMember/img/img_css/htmlPageStructure.PNG" width="30" height="30" alt="이미지가 display 안 될 때">
이 링크를 누르세요
</a>
<br>
<!-- src attribute -->
<img src="/KosMember/img/img_css/htmlPageStructure.PNG"><br>
<img src="/KosMember/img/img_css/htmlPageStructure.PNG" width="500" height="600"><br>
<img src="/KosMember/img/img_css/htmlPageStructure.PNG" width="100" height="100" alt="이미지가 display 안될 때 ㅋㅋ"><br>
<!-- style attribute -->
<p style="color:red">나는 문단 태그이다.</p>
<!-- Quote attribute values -->
<a href=http://www.naver.com>쿼테이션 없이, 권장하지 않음</a>
<a href='http://www.naver.com'>'싱클 쿼테이션'</a>
<a href="http://www.naver.com">"더블 쿼테이션"</a>
<!-- title attribute -->
<p title=부가정보:쿼테이션사용안함> 타이틀 엘리먼트 </p><br>
<p title='부가정보 :싱글쿼테이션 사용'> 타이틀 엘리먼트 </p><br>
<p title="부가정보 :더블쿼테이션 사용"> 타이틀 엘리먼트 </p><br>
</body>
</html>
8교시 (17:30-18:30)
- css_02_boxmodel.html
<!DOCTYPE html>
<html>
<head>
	<meta charset="utf-8">
	<title>박스모델</title>
	<!--
		-------------------------------------------------------------
		CSS 박스 모델 요소 box model element
		-------------------------------------------------------------
		여백 (margin) 	: 박스의 맨 바깥 영역, 테두리 바깥 공간으로 아래위 인접한 태그와 만나는 공간
		테두리 (border)	: 패딩 외부의 외곽선으로 직선이나 점선 혹은 이미지로 입힐 수 있다.
		패딩 (padding)	: 콘텐츠를 직접 둘러 싸고 있는 내부 여백
		콘텐츠(width, height) : HTML 태그의 텍스트나 이미지 부분

		box-size : 박스 모델의 너비와 높이 지정
		border-box : 테두리까지 포함해서 너비값을 지정
		content-box : 콘텐츠 영역만 너비 값을 지정, default 값

		-------------------------------------------------------------
		박스 모델은 텓리 마진 패딩 등 상하좌우 4개 방향을 지정할 수 있다.
		$$$$$$$$$$$$$$$$$$$$$$$$$$$$$$$$$$$$$$$$$$$$$$$$$$
		맨 위쪽부터 시작해서 시계방향으로 지정한다.
		top - right - bottom - left
		$$$$$$$$$$$$$$$$$$$$$$$$$$$$$$$$$$$$$$$$$$$$$$$$$$
		-------------------------------------------------------------

		1. 각각 다 지정해주는 방법, 순서는 상우하좌, 시계방향
			margin: [margin-top] [margin-right] [margin-bottom] [margin-left];

		2. 상하의 마진이 같고, 좌우 마진이 같을 때
			margin: [margin-top=margin-bottom] [margin-left=margin-right];

		3. 좌우는 같은데, 상하가 다를 때
			margin: [margin-top] [margin-left = margin-right] [margin-bottom];

		4. 상우하좌 동일하게
			margin: [margin-top = margin-bottom = margin-left = margin-right];

		5. 0 상하 여백을 주지 않음, auto 좌우 여백을 자동으로
			margin:0 auto;

		float : 정렬을 하기 위한 속성, 이미지는 객체를 오른쪽 왼쪽에 띄움
		none: 띄우지 않음(기본값)
		left: 완쪽에 띄움
		right: 오른쪽에 띄움
	-->
	<style type="text/css">
		body { background: ghostwhite; }
		span { background: deepskyblue; }
		img {
			border: 2px solid red;
			padding: 20px;
		}
		div.box {
			background: yellow;
			border-style: solid;
			border-color: peru;
			border-width: 30px;
			width: 250px;
			height: 100px;
			margin: 40px;
			padding: 20px;
		}
		div.box1 {
			background: red;
			border-style: solid;
			border-color: blue;
			border-width: 5px;
			width: 250px;
			height: 100px;
			margin: 5px;
			padding: 5px;
		}
	</style>
</head>
<body>
	<img src="/KosMember/img/img_css/boxModel.png">
	<div class="box">
		<span>
			div(Division) box<br>
			div는 웹페이지에서 논리적 구분을 정의하는 태그이다.
		</span>
	</div>
	<div class="box1">
		<span>
				top right bottom left
		</span>
	</div>
</body>
</html>
Notes
728x90
'국비지원교육 (22.01-22.07) > 강의노트' 카테고리의 다른 글
| 22-04-07(목) 049일차 [HTML, CSS] CSS의 position, table, selector, 부트스트랩 (0) | 2022.05.24 |
|---|---|
| 22-04-06(수) 048일차 [HTML, CSS] 웹에서 데이터를 가져오기, CSS margin과 float 조절 (0) | 2022.05.24 |
| 22-04-04(월) 046일차 [Java, Oracle, HTML] 지난 금요일에 주신 자료 그대로 타이핑하기 (0) | 2022.05.24 |
| 22-04-01(금) 045일차 [Java, Oracle, HTML, JavaScript] 미니 프로젝트 (0) | 2022.05.17 |
| 22-03-31(목) 044일차 [Java, Oracle, HTML, JavaScript] 미니 프로젝트 (0) | 2022.05.17 |